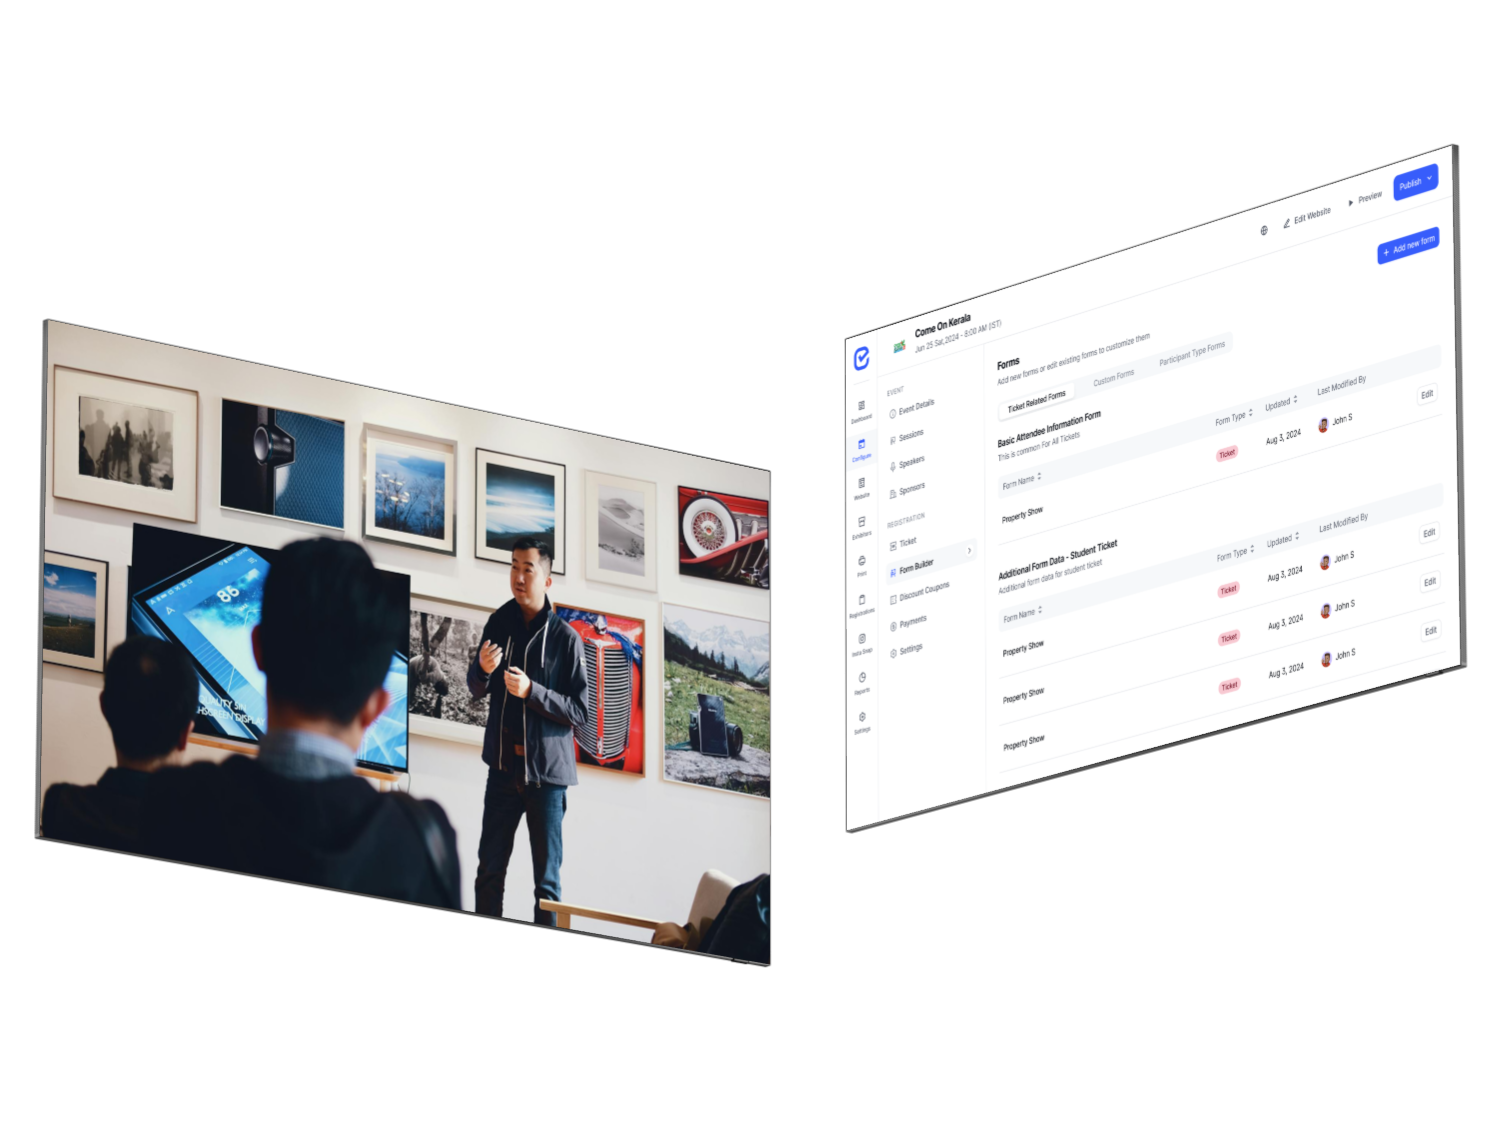
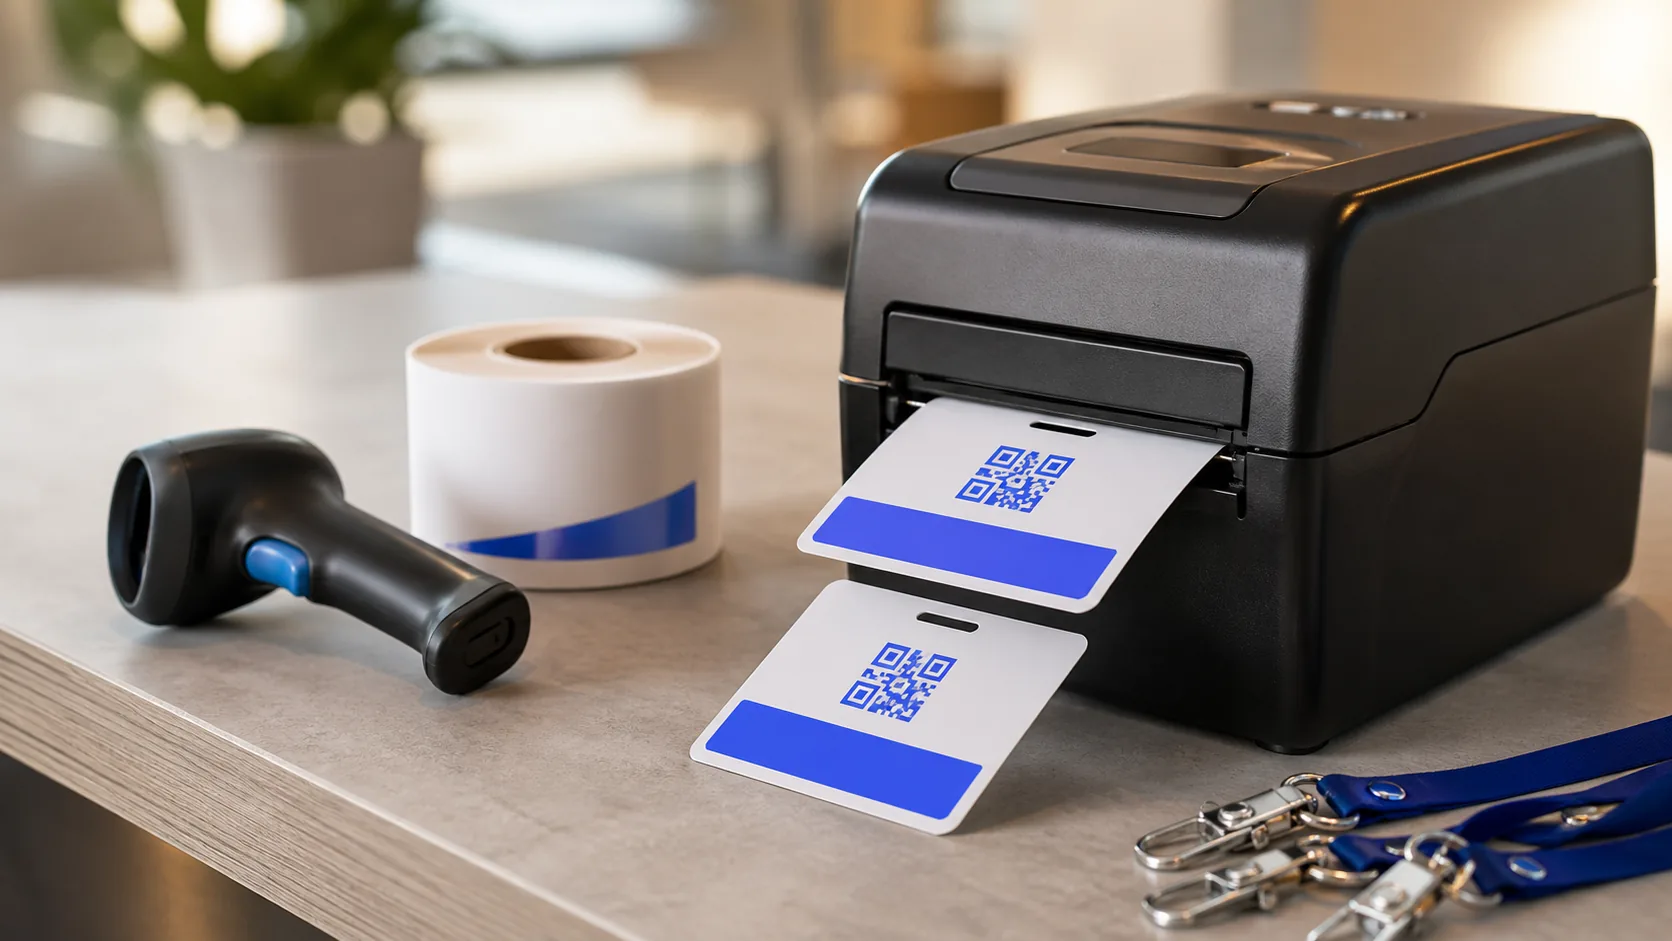
Short answer: A reliable event badge printing workflow connects four things: the attendee record, the badge design, the check-in action, and the printer. Organizers should be able to prepare badges in bulk before the event, print a badge when an attendee is scanned or found by name, handle walk-ins and reprints, and review what was printed, by whom, and whether it succeeded.
Badge printing is often treated as a small design task. On event day, it is an operations system. A badge may look simple, but producing the correct one at the correct moment depends on registration data, template rules, check-in processes, printer configuration, and a clear exception path.
This practical guide explains how to plan an event badge printing workflow from registration to arrival. It also shows how EventHex connects badge design, attendee data, PDF preparation, on-demand printing, and print analytics without relying on unsupported speed or hardware-count claims.
What is an event badge printing workflow?
An event badge printing workflow is the sequence that turns a registration record into a physical attendee credential. In a connected workflow, the organizer does not repeatedly copy data between spreadsheets, design files, and printer utilities. The event platform supplies the data, applies the right layout, and gives the event team a controlled way to print it.
A complete workflow normally has six stages:
- Collect: Capture the attendee details required for the badge during registration.
- Design: Build one or more reusable badge layouts.
- Map: Connect layout elements to attendee, ticket, and event fields.
- Prepare: Preview, test, and optionally export badges for pre-event printing.
- Print: Trigger the correct badge through a scan, attendee search, or controlled bulk action.
- Review: Track successful prints, failures, operators, ticket types, and reprints.
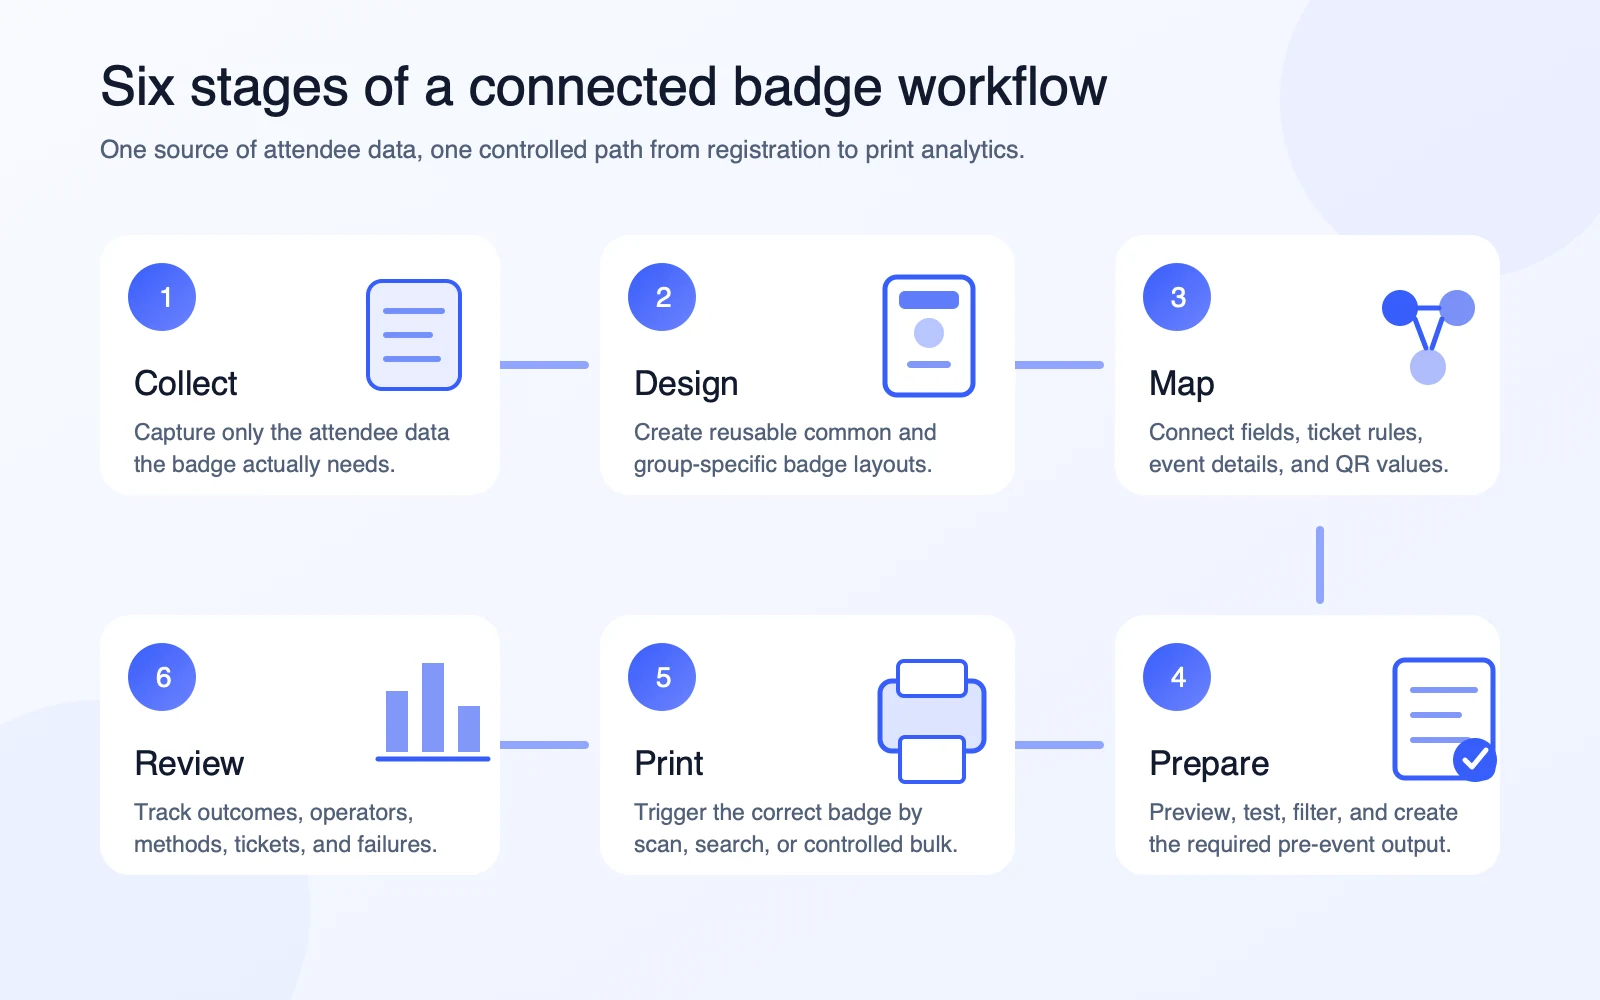
The crucial point is that design and printing should use the same source data. If a title, company, ticket type, or spelling changes, the next generated badge should reflect the current attendee record rather than an outdated spreadsheet export.
Three badge printing models organizers can use
“Onsite badge printing” can describe different operational setups. Choosing the correct model before selecting hardware prevents unnecessary complexity at the venue.
| Model | How it works | Best suited to | Main risk |
|---|---|---|---|
| Pre-event batch printing | Generate badges as PDFs or print sheets before doors open | Stable guest lists and smaller events | Late changes, walk-ins, and no-show waste |
| Hybrid printing | Pre-print the confirmed list, then print exceptions onsite | Events that want a simple primary flow with onsite flexibility | Staff need a clear way to distinguish prepared badges from exceptions |
| On-demand printing | Scan or find an attendee and print the assigned badge at check-in | Events with changing data, multiple ticket groups, or walk-ins | Printer, media, network, and operator readiness become event-critical |
There is no universally correct model. A corporate meeting with 80 confirmed guests may benefit from a batch PDF. A trade show with several attendee categories and frequent same-day registrations may need on-demand printing. Many organizers use a hybrid model: prepare the predictable volume early and keep a live printing station for corrections, replacements, and late arrivals.
Step 1: decide what belongs on the badge
Start with the job the badge must perform. A networking badge, exhibitor credential, staff pass, and access-control badge do not need the same information.
A practical attendee badge might include:
- attendee name in the largest readable type;
- job title and company;
- ticket, role, or participant category;
- a unique QR code;
- event name or logo;
- an optional profile image, company logo, booth number, or exhibitor category.
Do not place every registration field on the credential. Ask whether each item helps with identification, networking, access, or event operations. Keep sensitive or unnecessary personal data off a badge that will be visible throughout the venue.
The EventHex badge builder can combine static design elements with dynamic attendee, ticket, and event data. Available elements include custom text and images, attendee name, designation, company, contact information, profile photo, company logo, ticket details, booth information, event details, and QR codes. The exact fields available depend on the data collected for that event.

Step 2: create template rules before creating variations
Events frequently require more than one design. A VIP may need a strong visual marker. An exhibitor may need a booth number. Staff credentials may use a different color from attendee badges.
The mistake is creating dozens of disconnected files with names such as “VIP-final-v3” and “Speaker-new-final.” Instead, define the assignment rule first:
- one common badge for all tickets;
- a badge for one or more specific ticket types;
- one common badge for participant groups;
- a badge for a specific participant type.
EventHex stores badge layouts with these event, ticket, and participant relationships. Organizers can start from a template or a blank canvas, duplicate a badge, and apply a design across selected tickets. During event-day printing, the team can select the common or ticket-specific layout that should be used for each registration flow.
Keep the number of templates operationally manageable. Create a separate design only when staff or attendees need to recognize a meaningful distinction at a glance.
Step 3: map live registration data into the layout
A visual layout becomes a reusable badge template when its elements are mapped to data. The name element should resolve to the attendee’s name; the ticket label should resolve to the assigned ticket; the QR element should contain the unique value used by the event workflow.
EventHex loads event form fields into the badge builder so the layout can use information already collected through event registration. It also supports event-level fields such as event name, location, dates, banner, and logo, plus ticket name, ticket dates, and ticket number.
This mapping reduces manual design work, but it also creates a data-quality dependency. Before final approval, test records with:
- a short and a very long name;
- a long company or designation;
- missing optional fields;
- each ticket or participant category;
- the languages and character sets expected at the event;
- a QR code scanned from the physical print size.
The EventHex event-day print path includes conversion for non-Latin text before sending printer commands, but fonts, glyphs, darkness, media, and final readability still need a physical test on the printer that will be used at the venue.
Step 4: choose the pre-event output
Even when the primary plan is on-demand printing, a print-ready export is useful for rehearsals, vendor production, backup packs, and selected groups.
In EventHex, organizers can preview badges with attendee data and generate PDFs using:
- all attendees, newly added or not-yet-processed attendees, or a selected registration range;
- a ticket-type filter for common badge designs;
- standard page sizes, badge-size output, or custom dimensions;
- portrait or landscape orientation;
- optional trim marks;
- a selected page range for large jobs.
That allows a team to print a complete list, prepare only one ticket category, or generate the registrations added since the previous run. It also gives the operator a preview step before consuming badge stock.
Step 5: connect check-in to badge printing
On-demand printing is most useful when it is part of the arrival flow rather than a separate desk using a separate file. EventHex’s Event Day Portal supports several operator paths:
- scan and print: scan the attendee’s ticket QR, locate the registration, and send the corresponding badge to print;
- camera scan: use a supported device camera to scan the code and continue the same flow;
- search and print: find an attendee by identifying details when the QR code is unavailable;
- print from scanned users: reopen a recently scanned attendee and print or reprint the badge;
- controlled bulk printing: filter or search the attendee list, select specific records, and process them together.
The portal can also mark attendance in the event-day workflow, so check-in status and badge production do not have to be maintained as unrelated activities. For the wider arrival process, see EventHex event check-in.
Step 6: use a printer route that matches the venue setup
Badge software does not remove the need to configure and test the physical printer. The platform still needs a reliable local path from the browser or event-day device to the printer.
EventHex supports a browser-print route and local direct-print routes. Its event-day workflow can generate ZPL from the saved badge layout and send it through QZ Tray or the EventHex local print agent to an installed printer selected by the operator. ZPL is a printer language used by supported Zebra devices; Zebra’s official documentation describes ZPL commands for text, graphics, barcodes, layout, and printer control.
Read the official Zebra ZPL command reference if your setup uses a Zebra/ZPL route. Printer compatibility should be confirmed against the exact model, driver, operating system, media, resolution, and chosen connection method. “A thermal printer” is not a sufficient compatibility test.
For each check-in station, document:
- the selected printer and connection method;
- the correct badge dimensions and printer resolution;
- which badge template is assigned;
- how the operator performs a test print;
- what happens if the direct-print route is unavailable;
- which desk handles edits, lost badges, and reprints.
Step 7: design the exception flow
The main queue is rarely the hardest part. Badge operations become slow when exceptions are handled inside the primary arrival lane.
Create a separate process for:
- misspelled names and changed companies;
- lost, damaged, or unreadable badges;
- walk-in registrations;
- an attendee who cannot find their QR code;
- a registration assigned to the wrong ticket or category;
- a failed print or printer change;
- a deliberate reprint that requires staff approval.
EventHex includes spot-registration and spot-badge indicators in its attendance flow, manual search, recently scanned attendee records, and reprint-capable print actions. Registration and attendance actions can also be queued for synchronization when the event-day device temporarily loses connectivity. However, offline readiness is not something to infer from a feature label: preload the event data, test the exact printer route without internet, reconnect, and confirm that queued updates synchronize correctly.
Step 8: monitor printing as an event operation
A print button alone does not tell the registration lead what is happening across multiple desks. Operational reporting should answer:
- How many print attempts were made?
- How many succeeded or failed?
- How many unique registrations received a print?
- Which operators are printing?
- Are prints coming from scan, search, or bulk workflows?
- Which printer routes and ticket types are involved?
- When did volume peak?
EventHex records print attempts with the attendee, event, ticket, operator, trigger method, printer type, outcome, error message, and timestamp. The print analytics view can summarize successful and failed prints, unique registrations and operators, prints by user, method, printer type, and ticket, recent activity, and an hourly breakdown.
This makes it easier to identify a failing station, investigate repeated prints, rebalance operators, and review the arrival operation after the event.
A practical event badge printing checklist
Two weeks before the event
- Confirm the attendee fields that are allowed on the badge.
- Finalize common and group-specific badge rules.
- Test the longest names, companies, roles, and required languages.
- Verify QR readability from the final badge size.
- Confirm printer model, resolution, driver, media, and connection method.
Before travelling to the venue
- Prepare a reviewed PDF or sample pack.
- Export or cache the data needed for the planned contingency mode.
- Label printers, cables, power supplies, devices, and media.
- Document the operator login and printer-selection process.
- Assign an exception desk and a technical owner.
At the venue
- Run test prints from every station using real badge stock.
- Scan the printed QR code through the real check-in flow.
- Test search, walk-in, correction, reprint, and failed-print scenarios.
- Check that each ticket group receives the intended layout.
- Open print analytics and confirm that attempts are being recorded.
Frequently asked questions
Should event badges be printed in advance or on demand?
Use pre-event printing when the list is stable and operational simplicity matters most. Use on-demand printing when registrations change close to the event, multiple badge types must be selected dynamically, or walk-ins are common. A hybrid workflow works well when most attendees are predictable but the team still needs an exception station.
Can EventHex print different badge designs for different ticket types?
Yes. EventHex supports common and specific badge configurations tied to tickets or participant types. The event-day portal can use common and ticket-specific layouts when generating a badge for a registration.
Can organizers bulk print event badges?
Yes. EventHex supports filtered attendee selection and PDF generation for larger pre-event jobs, as well as controlled bulk printing from the Event Day Portal. Organizers can also work with all attendees, newly added records, selected ranges, and ticket filters where applicable.
Does EventHex support QR codes on badges?
Yes. QR codes are available as badge-builder elements and can be generated with the attendee-specific value used by the event workflow. Always test the physical output with the final print size, contrast, and scanner.
Do I need a Zebra printer?
Not for every workflow. Browser printing and PDF output can use the printer path available to the operator. For direct ZPL printing, use a compatible Zebra/ZPL setup or another installed printer route that has been validated with QZ Tray or the EventHex local print agent. Confirm the exact hardware and connection before the event.
Can badge printing continue if the internet connection drops?
EventHex’s Event Day Portal includes local caching and queued synchronization for event-day data and attendance actions. Actual offline printing also depends on whether the required registration, badge layout, and local printer connection are available on the device. Test the complete offline and recovery sequence at the venue rather than assuming every configuration behaves the same way.
Can the team track reprints and printing failures?
EventHex can record print attempts and outcomes, including the attendee, operator, trigger method, printer type, timestamp, success status, and error message. That gives event leads an operational trail for failures and repeated prints.
Build the workflow before the queue forms
The best event badge printing setup is not simply the fastest printer. It is a connected process in which the registration record, badge rule, check-in action, printer route, exception desk, and analytics all agree.
EventHex brings badge design, dynamic data mapping, filtered PDF preparation, scan and search workflows, controlled bulk printing, local printer routes, and print analytics into the same event platform. That gives organizers one operational path from registration data to the badge an attendee receives at the door.